Connect Viber Business Messages
This short tutorial will lead you through the creation of a Viber Business Messages channel.
Need Help?
Contact us at [email protected]
- Log in to app.amio.io.
- Add a new Viber Business Messages channel.
- Enter your desired Sender ID
- Click Create
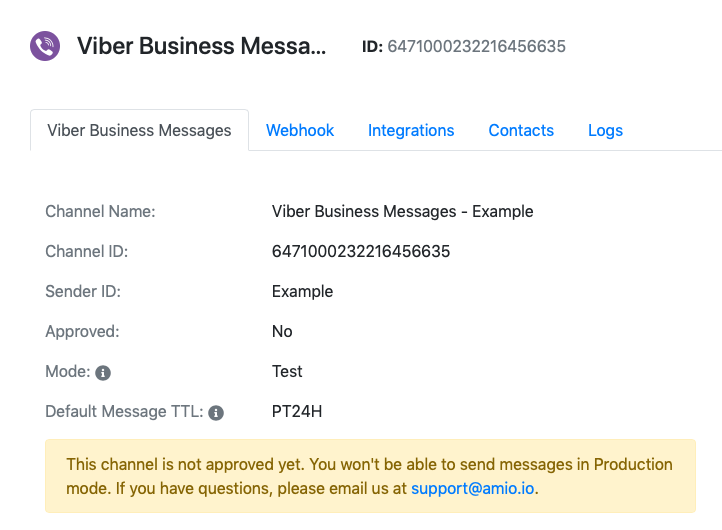
When you complete the procedure, you will see that your channel was created, but isn't approved yet. This is because your Sender ID has to be registered with Viber, which takes some time (usually 5-7 business days). You will be able to send messages once the channel is approved.

What is Sender ID?
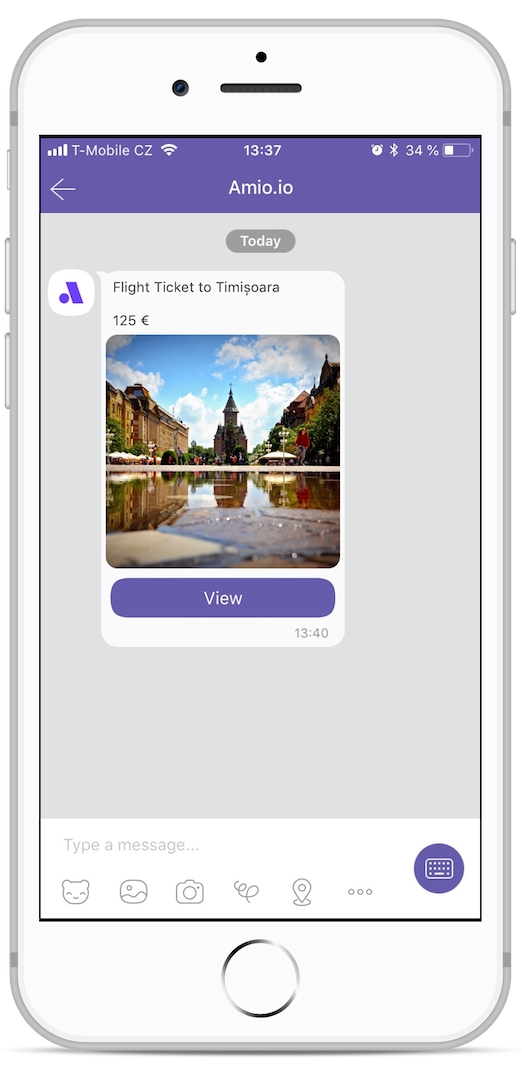
Sender ID is usually the name of your business. It is displayed in the Viber app as the sender of your messages (in the example image below, the Sender ID is "Amio.io"). Your Sender ID has to be registered with Viber and cannot be changed after the registration is complete. You choose the Sender ID during channel creation.

Mode
You can switch Viber Business channel to various modes what affects sending of messages.
Specifies in which mode the messages should be sent.
Production mode - Your messages will be sent using your Sender ID. Each delivered message will be charged. This mode requires approval.
Amio mode - Your messages will be sent using common Amio test Sender ID. Messages sent are not charged but number of messages sent is limited. This mode requires approval.
Test mode - Your messages will be accepted but won't be processed any further. The response will respond with success and message id however. This avoids the cost of sending the message through Viber.
Updated over 6 years ago
