FreshWorks (FreshChat)
How to integrate Amio AI chatbot with FreshWorks (FreshChat)
What FreshChat integration with Amio chatbot allows you to do:
- Link your Amio chatbot customers to FreshChat
This allows customers to reach your support team for further assistance when necessary. - Access chatbot conversations with customers directly in FreshChat
Live agents can view the chat history, enabling them to promptly address customer issues. - Communicate with your customers in real-time from the FreshChat application
This ensures quick responses, minimizing wait times for your customers.
Necessary FreshChat plan
- You'll need at least 2 users which are paid (not Free plan) .
Set up
To integrate Freshchat to Amio there are several steps to be done:
Step 1- to collect the necessary information needed from the Freshchat interface. The necessary info to be collected: API key, App url, App id.
Step 2 - to get the data from 2 API calls (agent_id, channel_id).
Step 3- run an API request to integrate Freshchat and Amio.
Step 1 - FreshChat App
API key and App URL
-
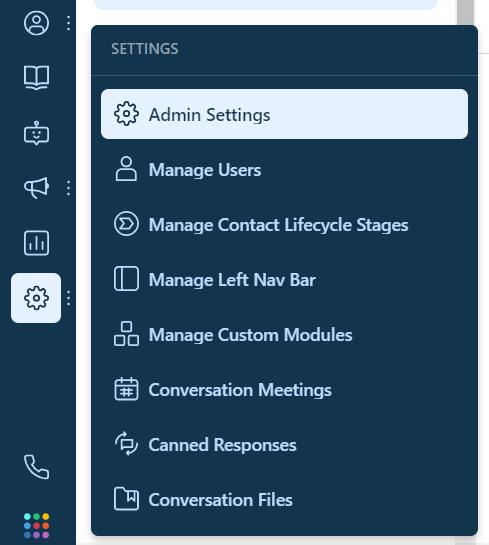
Settings - Admin Settings
-
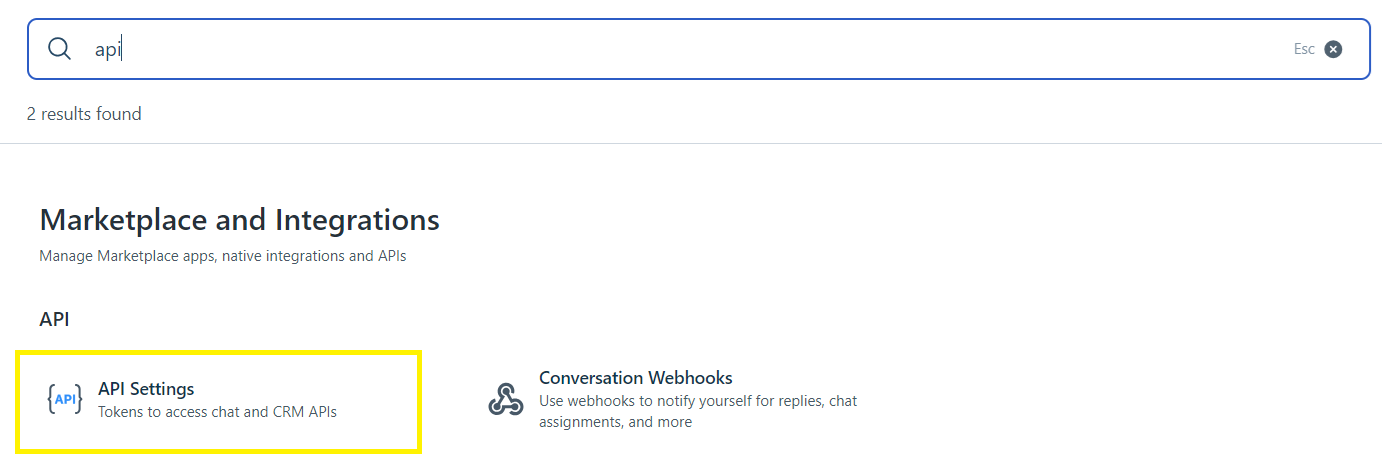
In the search find API Setting
-
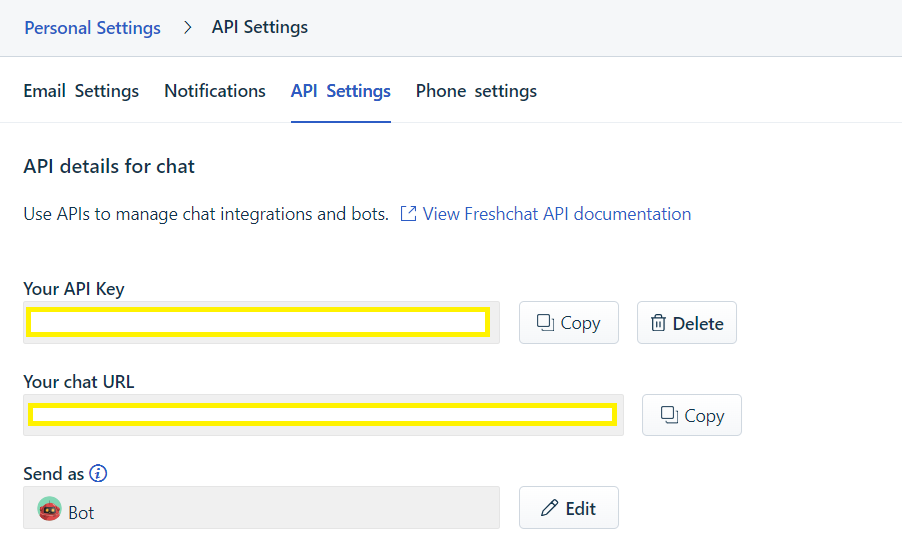
From the API settings page copy API key and chat URL
App ID
-
Settings - Admin Settings
-
In the search find Web Chat Settings
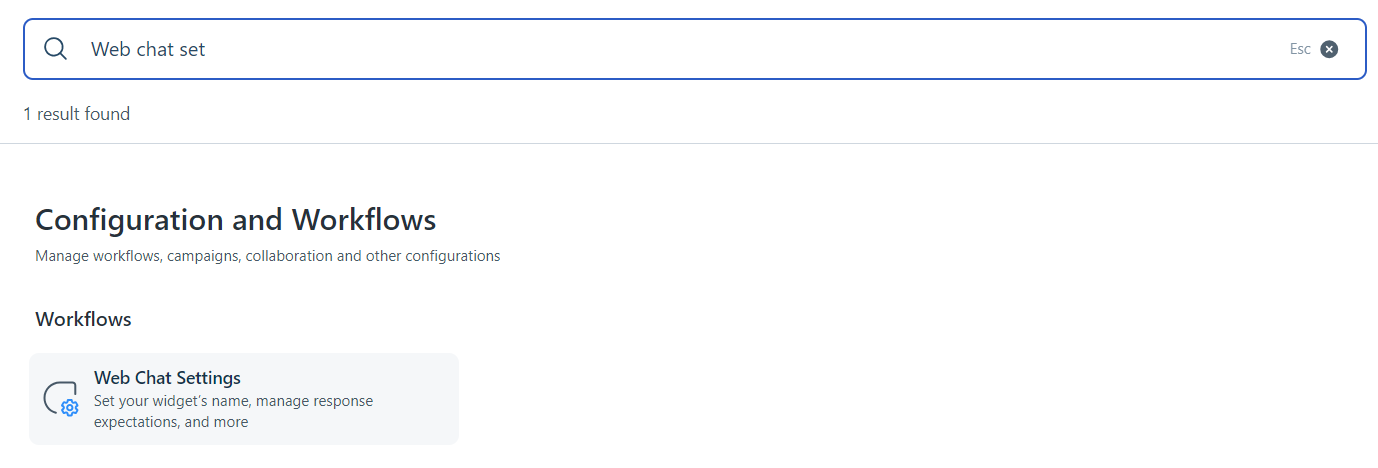
-
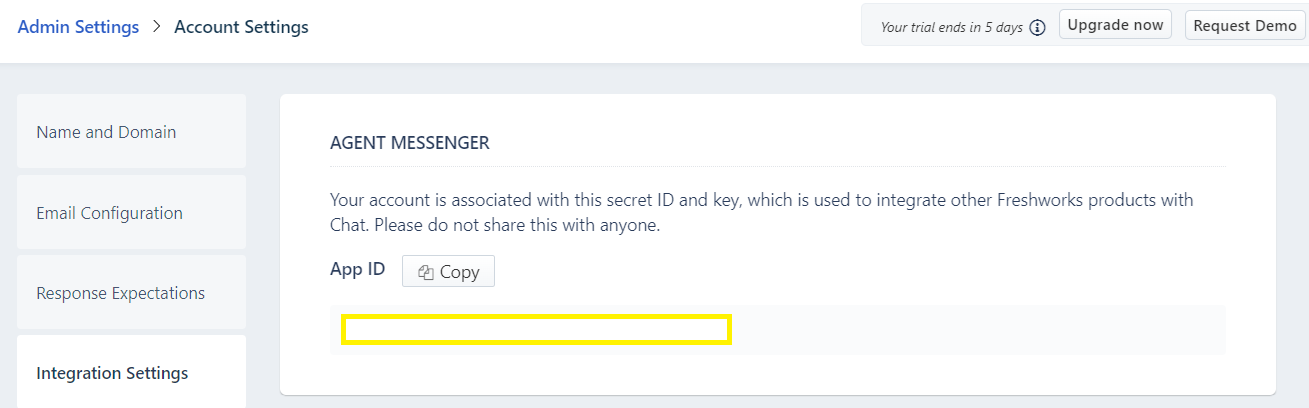
Go to Integration Settings
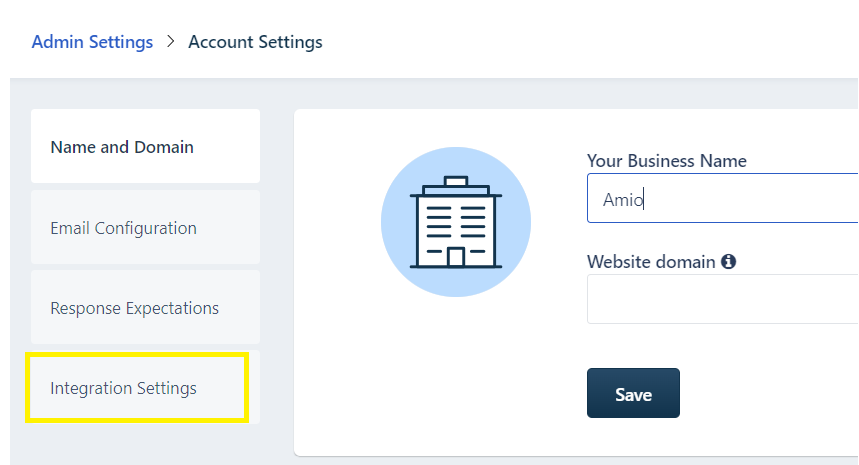
-
Copy App ID
Step 2 - FreshChat API
To get the values in the second step you need to run 2 endpoints, company_subdomain is equal to the App URL taken in the 1st Step. Authorization Bearer Token - API token taken in the 1st Step.
Agent ID
ID of agent on whose behalf the bot will send messages. Has to be different agent than the one that responds to the tickets. Use Freshchat API to list agents. ⚠️You may need to create a new dedicated agent for this purpose.
Run the endpoint and copy the desired agent_id
GET https://{company_subdomain}.freshchat.com/v2/agents?items_per_page=50
Channel ID
Run the endpoint and copy the desired channel_id
GET https://{company_subdomain}.freshchat.com/v2/channels?items_per_page=50
Step 3 - Amio Integration
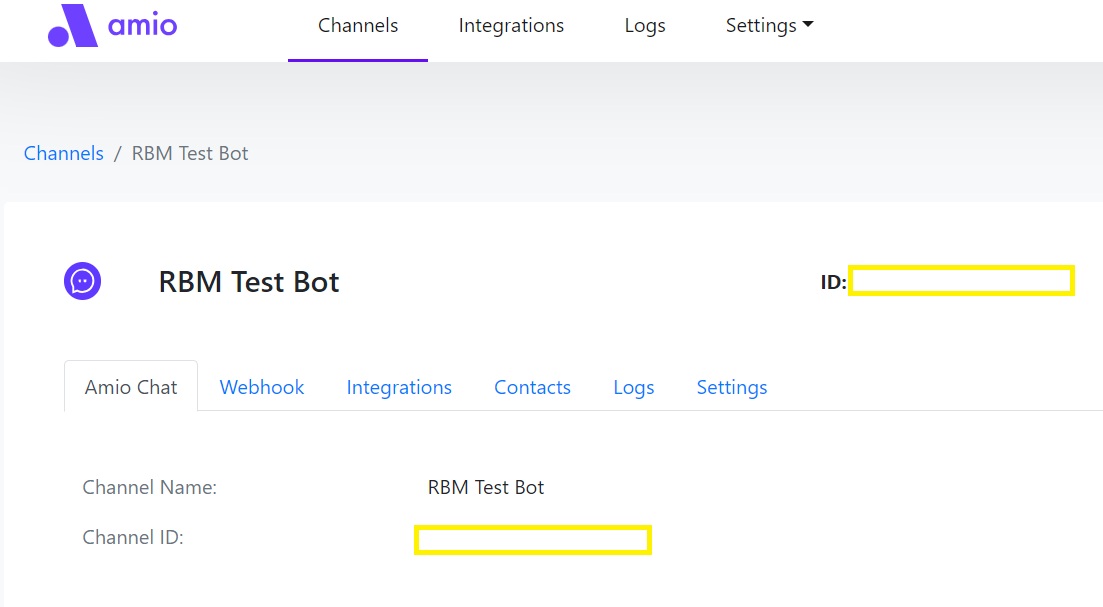
This is the final step to integrate Freshchats and Amio, to do so you need to run the following endpoint. But before you need to get the id of the Amio channel you want your bot to be connected to.
To find it out, go to https://app.amio.io/administration/channels, find the desired channel and copy the ID
Authorization - you valid token from Amio app. Can be retrieved from the Dev console.
POST <https://api.amio.io/internal/integrations>
Body:
{
                "type": "freshchat",
                "freshchat_channel_id": "channel ID from Step 2",
                "freshchat_app_id": "app ID from Step 1",
                "freshchat_agent_id": "agent ID from Step 2",
                "freshchat_api_url": "https:// + {{app URL from Step 1}}",
                "access_token": "api key from Step 1",
                "channels": [
                    {
                        "id": "amio channel ID from Step 3"
                    }
                ]
                }
Make sure that the response status is 200. After the integration will be created and you will be able to see it under the Integrations tab in the Amio channel used:
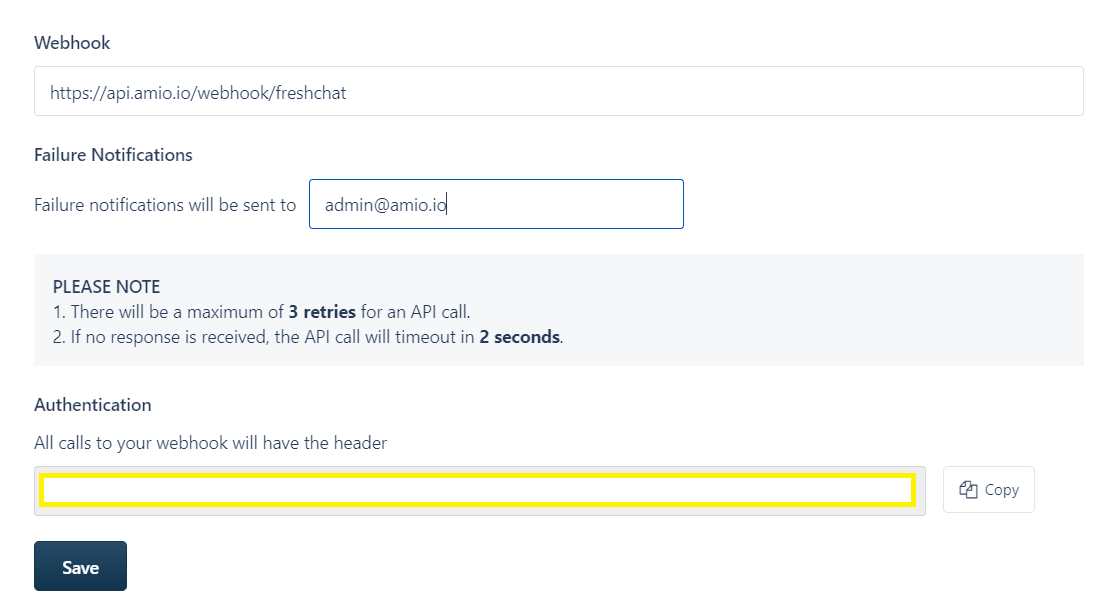
Step 4 - Webhooks
Another important settings to be set before the start is the Webhooks.
- Go to Settings - Admin Settings
- In the search find Conversational Webhooks
- Set up the Webhook as
https://api.amio.io/webhook/freshchatand Failure notifications email to [email protected]
Amio Chat
Amio Chat is setup as usual - Getting Started - Amio Web Chat.
To add user data to Freshchat, use the setMetadata function. The user data should be defined within the freshchat_user object.
window.amioWebchat.init({
  externalContactId: '<unique user id from your system>'
})

window.amioWebchat.setMetadata({
  freshchat_user: {
    //the fields are optional
    reference_id: '<user id>',
    email: '<user email>',
    first_name: '<user first name>',
    last_name: '<user last name>',
    phone: '<user phone>'
  }
})
The
externalContactIdin init is optional, use it to make sure the chat history will be the same when the user connects from a different device/browser.
Updated 10 months ago