Send message from Web
In previous tutorial, we prepared a Vue.js project and connected it to Amio Chat. Now, we will add some real functionality. Let's start by sending a message.
Update Component
in Chat.vue, replace the code from the previous tutorial with the code below. Remember to copy the channel ID from administration to amioChat.connect(). The new changes in the code are:
- Message input - Enter the message to be sent here.
- List of messages - Every message sent will stack up here.
SendMessage()- The method handles the actual message sending. It also updates a list of messages that we have sent.
<template>
  <div>
    <h2>Chat</h2>
    <div id="chat">
      <div>
        <p>Connected: {{connected}}</p>
      </div>

      <!-- 1. Message input -->
      <form @submit.prevent="sendMessage">
        <div>
          <label for="message">Message:</label>
          <input id="message" type="text" v-model="message">
        </div>
        <button type="submit">Send</button>
      </form>

      <!-- 2. List of messages  -->
      <div>
        <template v-for="(msg, index) in messageList">
          <p :key="index">Sent message: {{msg}}</p>
        </template>
      </div>

    </div>
  </div>
</template>

<script>
import {amioChat} from 'amio-chat-sdk-web'

export default {
  data() {
    return {
      connected: false,
      messageList: [],
      message: ''
    }
  },

  methods: {

    // 3. Send message and update the List of messages
    sendMessage(e) {
      e.preventDefault()
      const messageText = this.message
      amioChat.messages.sendText(messageText)
        .then(() => {
          this.messageList.push(messageText)
        })

      this.message = ''
    },
  },

  mounted() {
    // TODO Find and paste the 'channel ID' from https://app.amio.io/administration/channels
    amioChat.connect({channelId: '{insert your channel ID here}'})
      .then(() => {
        this.connected = true
      })
  }

}
</script>

<style scoped>
#chat {
  text-align: left;
}
</style>
Test it out
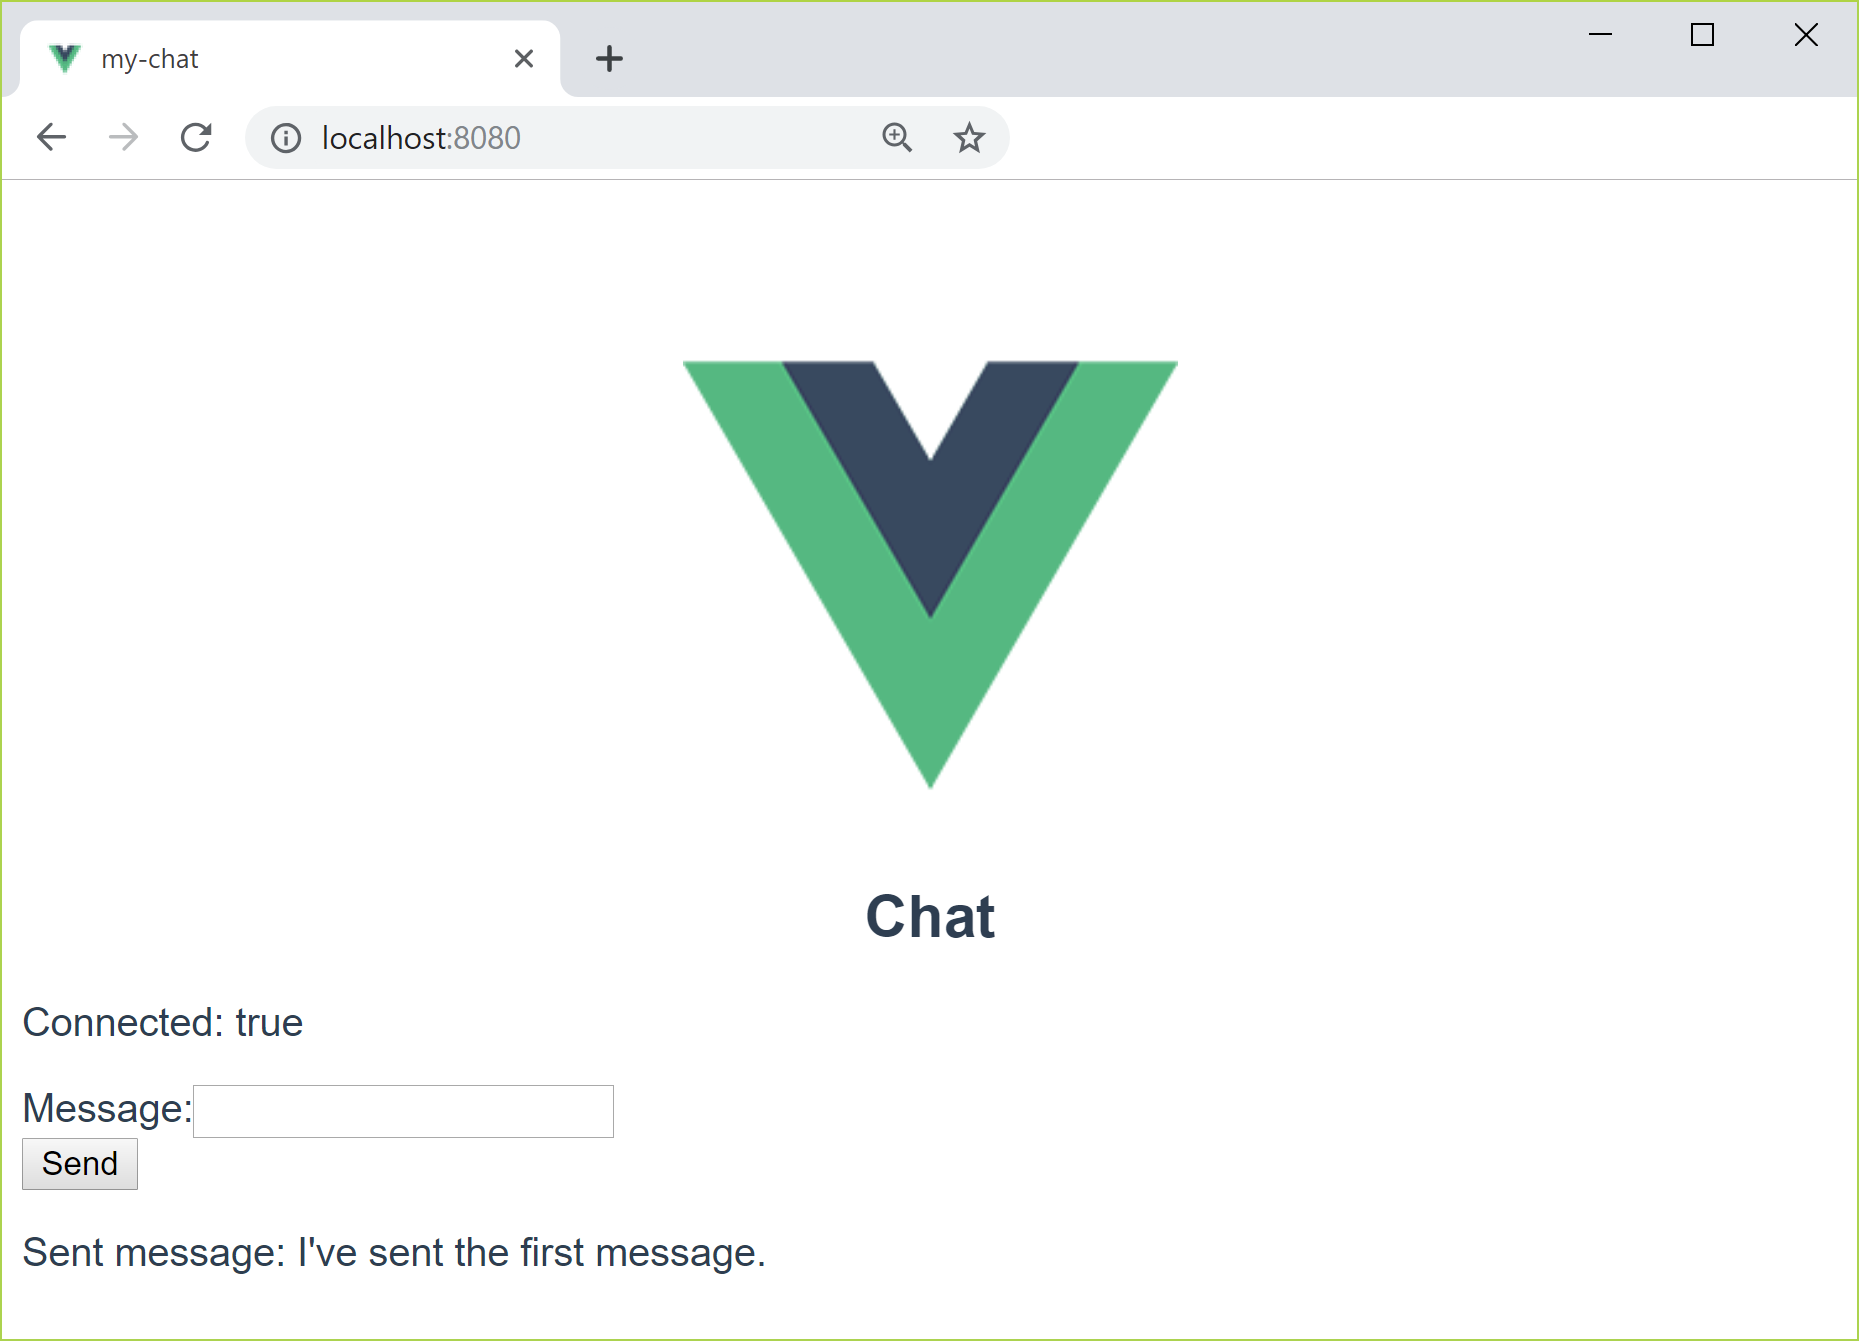
Start the server by running npm run serve. Then go to http://localhost:8080 and you should see that message was sent.

Logs
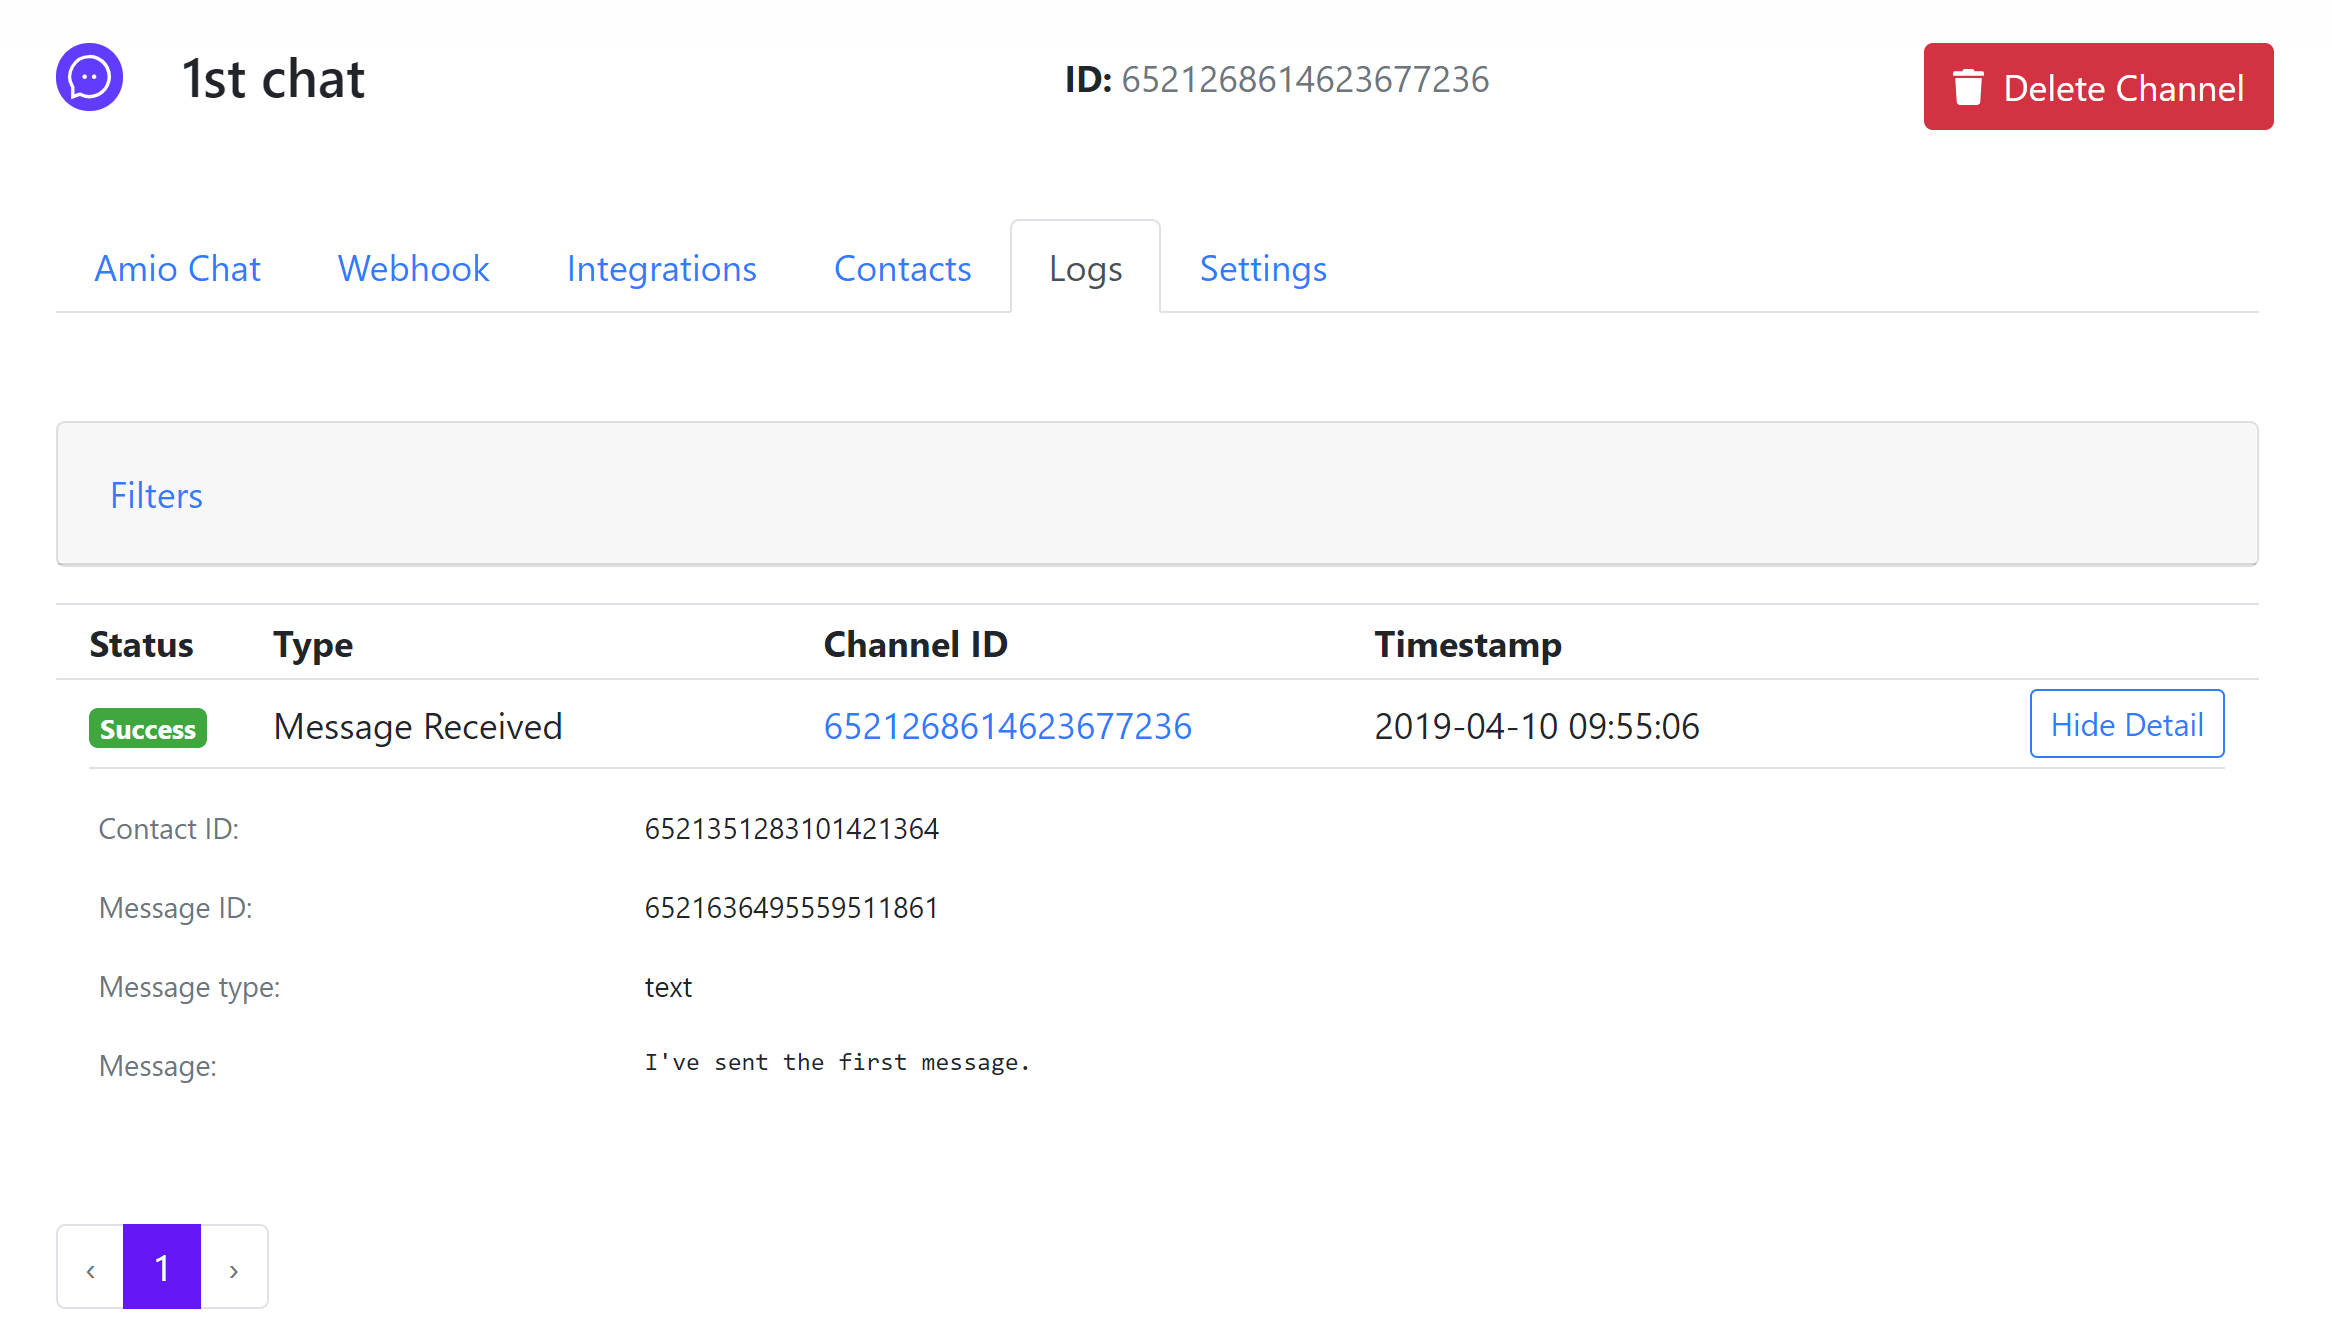
You can verify that Amio received the message by looking at the Logs.

Updated over 1 year ago
What’s Next
