Connect Amio Chat
This tutorial guides through the creation of Amio Chat channel and basic setup of Amio Chat SDK in a Vue.js project.
1. Create Channel
- Log in to app.amio.io.
- In administration, go to channels.
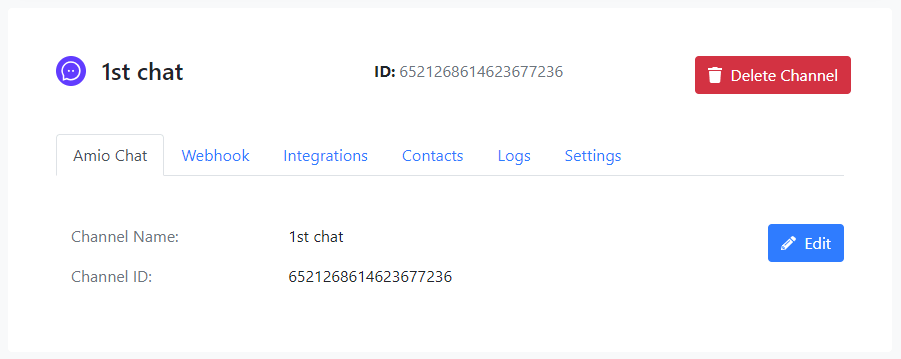
- Click on Add New Channel Select Amio Chat.
- Fill in the name of the channel.
- Click Connect.

2. Connect Browser with Amio
To show the basic usage of Amio Chat SDK, we will set up a Vue.js project.
Node.js & npm
This tutorial assumes that you have already set up Node.js environment and NPM package manager. If you don't, you can follow this tutorial.
Setup Vue.js project
- Install Vue CLI:
npm install -g @vue/[email protected] - Install prototyping tool:
npm install -g @vue/[email protected] - Create a Vue.js project:
vue create <project name>(you can use the default template)
Create chat client
- Go to your project folder
<project name>and install Amio Chat SDK:npm install amio-chat-sdk-web --save - In
src/components, create a new fileChat.vue. - Copy the source code below to
Chat.vue. - Copy the channel ID from administration to
amioChat.connect().
<template>
  <div>
    <h2>Chat</h2>
    <div id="chat">
      <p>Connected: {{connected}}</p>
    </div>
  </div>
</template>

<script>
import {amioChat} from 'amio-chat-sdk-web'

export default {
  data() {
    return {
      connected: false
    }
  },
  mounted() {
    // TODO Find and paste the 'channel ID' from https://app.amio.io/administration/channels
    amioChat.connect({channelId: '{insert your channel ID here}'})
      .then(() => {
        this.connected = true
      })
  }

}
</script>

<style scoped>
#chat {
  text-align: left;
}
</style>
- Replace the content of
App.vuewith the code below. - Keep the Vue.js logo (since it looks nice :-)
<template>
  <div id="app">
    <img alt="Vue logo" src="./assets/logo.png">
    <Chat/>
  </div>
</template>

<script>
import Chat from './components/Chat'

export default {
  name: 'app',
  components: {
    Chat
  }
}
</script>

<style>
#app {
  font-family: 'Avenir', Helvetica, Arial, sans-serif;
  -webkit-font-smoothing: antialiased;
  -moz-osx-font-smoothing: grayscale;
  text-align: center;
  color: #2c3e50;
  margin-top: 60px;
}
</style>
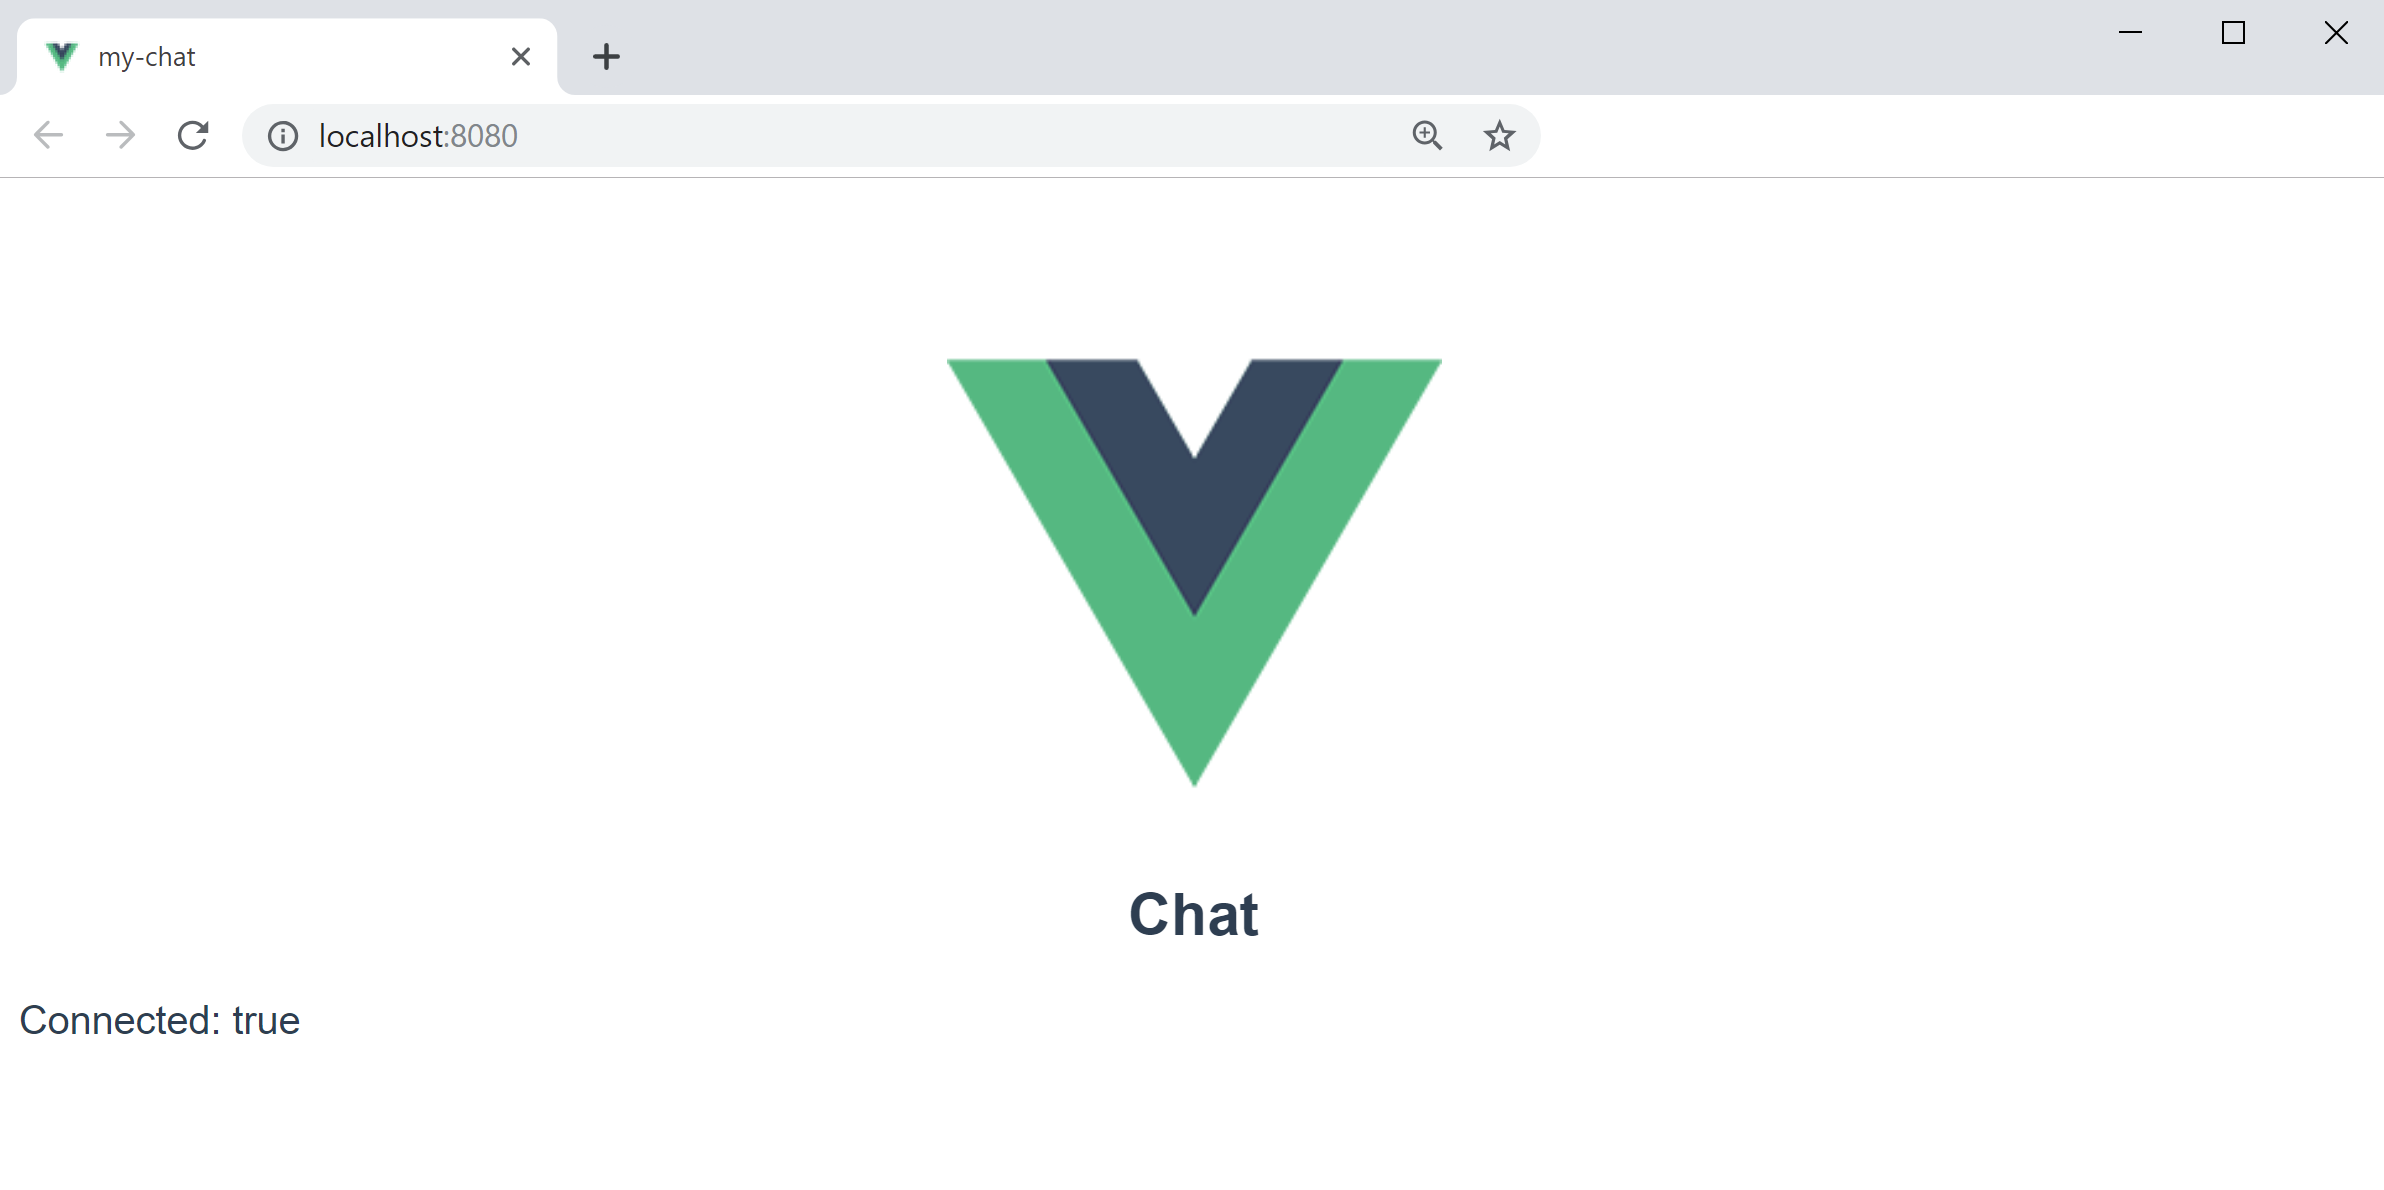
You can now start the web server by running npm run serve. Then go to http://localhost:8080 and you should see that the webpage is loaded, but you're not connected.
That's because Amio Chat servers are checking client's origin every time a client is trying to connect, and unless the client's origin is whitelisted, the connection will be refused. To whitelist the origin domain, you need to do the following steps:
- In administration, go to your Amio Chat channel.
- Go to the Settings tab.
- Press Edit button and your web server's domain. In this case, it would most likely be
http://localhost:8080orhttps://someurl.com:443 - Save the changes.
Whitelist with port!
Always use port number when whitelisting, e.g.:
- http://localhost:80
- https://someurl.com:443
Now, if you go back to your browser, you should see that you're connected.

Updated over 1 year ago
