
Answers
An answer is the bot’s reply to one topic, such as “Where is my order?” or “Opening hours”. Each answer has a description that tells the bot when to use it, and a flow that says what to do.
Answers and knowledge bases
Section titled “Answers and knowledge bases”Use an answer when you want control over what the bot does for a topic: fixed wording, buttons, a handover, a question to the customer, an API call.
Use a knowledge base when the reply depends on a lot of content, such as a product catalogue or a help centre. You connect the knowledge base to an AI answer step inside an answer. So the two work together: the answer decides when to respond, and the knowledge base gives the AI the facts.
Create an answer
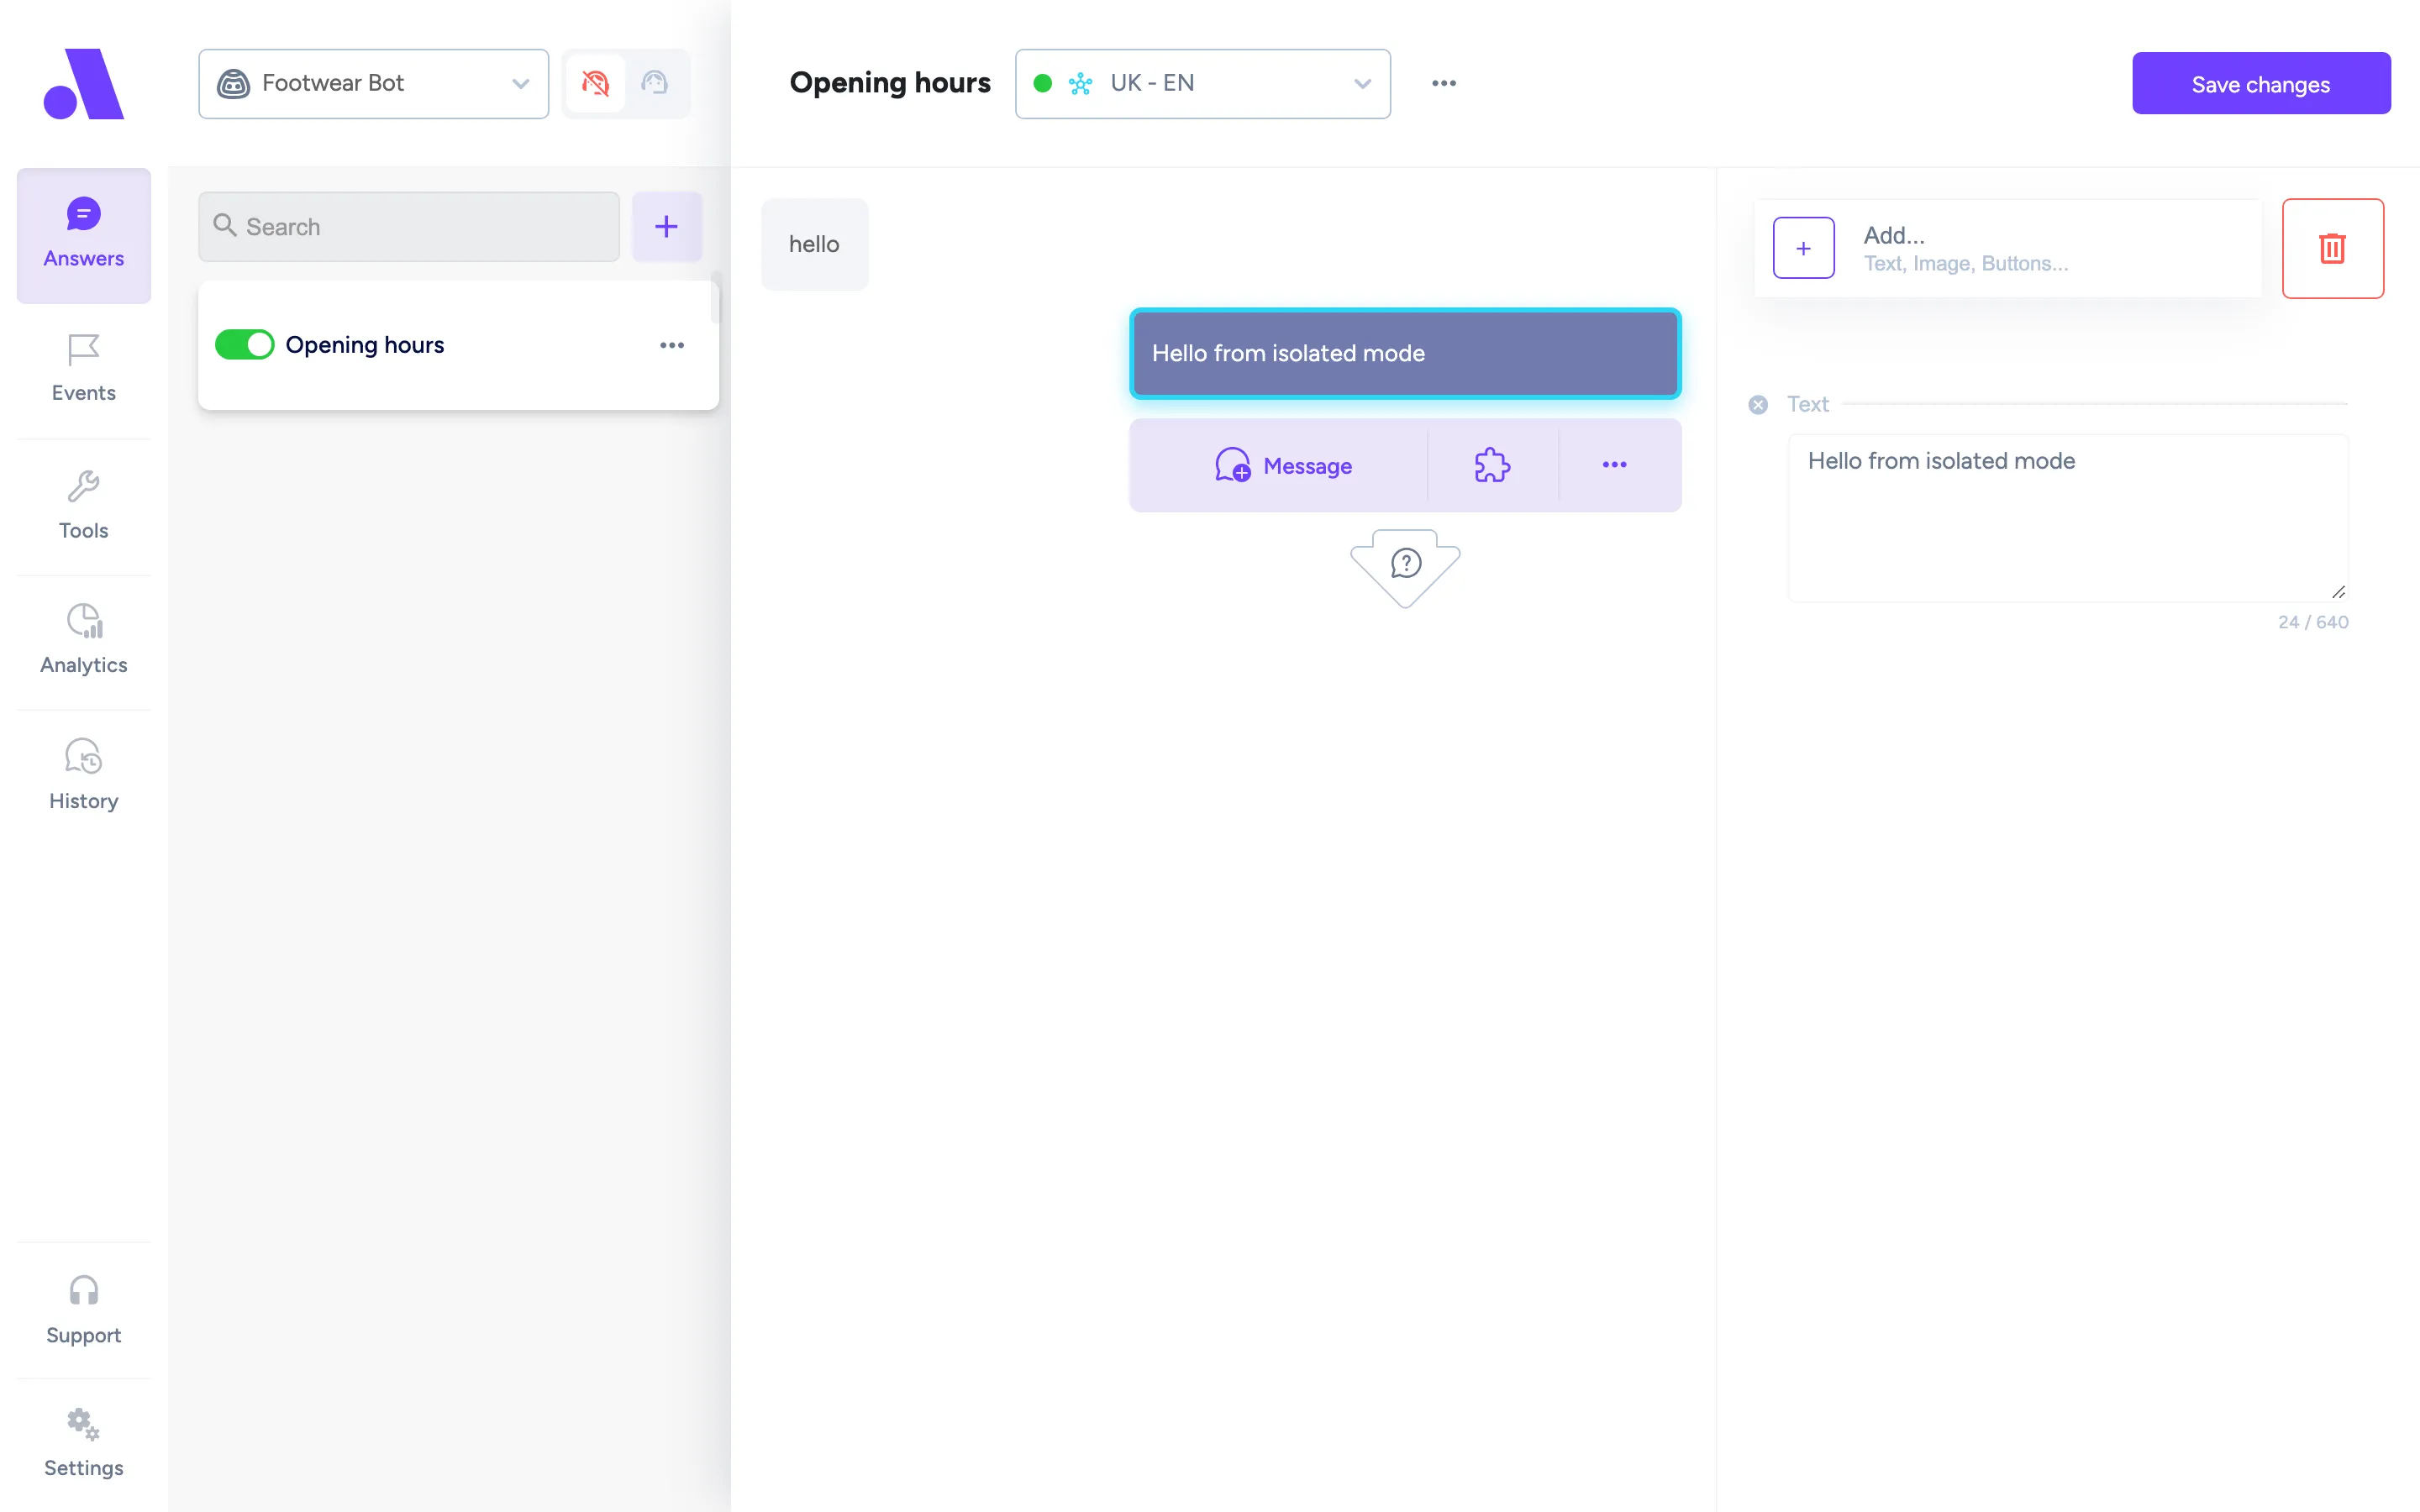
Section titled “Create an answer”- Open Answers in the admin and pick the bot (or market) in the top left.
- Click the add button above the list (tooltip: Create Answer).
- Type a name for the answer.
- Click the customer bubble at the top of the preview. In the right panel, write the Answer Description: 1 to 3 short sentences about what the customer wants. Do not repeat the topic of another answer. The limit is 2000 characters. If you leave it empty, the answer name is used.
- Add the content (see below) in the preview. Click any bubble to edit it in the right panel.
- Click Save changes.
- Switch the publish toggle on. The bot only uses published answers.
A good description names the customer’s goal and nothing else:
The customer is asking where their package is, or when it will arrive.
The bot picks answers by comparing the customer’s message with these descriptions, so two answers with overlapping descriptions compete with each other.
What you can put in an answer
Section titled “What you can put in an answer”Use the buttons under the last bubble in the preview.
| Step | What it does |
|---|---|
| Message | A bot message. Add Text, Buttons, Quick Replies or an Image. |
| Use Block | Inserts a block you made earlier. |
| Add Condition | Branches on the operator status, the day, a time range, the channel, the customer’s URL or a saved value. AI Call Operator is for email bots. |
| Wait for customer input | Pauses until the customer replies. You can save the reply under a name and validate it. |
| Make API call | Calls an external URL as part of the flow. |
| AI answer | The AI writes the reply. See AI agent. |
| Product recommendations | The AI recommends products from a product feed. You need a product feed knowledge base first. |
In text you can insert variables with ${variable.name}. After a Wait for customer input step, insert what the customer typed with ${context.name}, using the name you chose in Save input as.
Choose how the answer ends
Section titled “Choose how the answer ends”Click the arrow at the end of the flow to open Message transition.
- Find Answer: wait for the next message and pick a new answer.
- Continue this Answer or Find Answer: the AI checks whether the customer is still on the same topic. If yes, this answer replies again. If not, the bot finds a new answer.
- Continue to Answer: go straight to another answer you choose.
- Call Operator: hand over to a person.
- Wait for Input ➔ Call Operator: wait for one more message, then hand over.
- Exit the Condition and Exit the Block: appear inside a condition or a block, and continue the flow outside it.
Unknown Answer
Section titled “Unknown Answer”Every bot has an Unknown Answer. The bot uses it when it does not understand the customer. It is always published. Write it so the customer knows what to do next, for example by offering a handover.
Markets
Section titled “Markets”If your bot has several markets, each answer has a version per market. Switch market in the top left. Use the answer menu to Publish answer (all markets), or unpublish it. A market version can follow the main one, or you can edit it on its own. Enable auto-translate is also in the answer menu.
Rename, delete, check where it is used
Section titled “Rename, delete, check where it is used”Open the answer’s menu. Rename and Delete are there. View Usages lists the places that jump to this answer. Preview your changes in the chat on the left of the editor before you publish.