
Knowledge Bases
Use Knowledge Bases (Settings, /settings/knowledge-bases) to manage the content your bot searches when it answers questions. Each knowledge base holds one or more sources, and each source is an XML feed, a file, a web page or a whole website. For how the bot uses this content, see Knowledge bases.
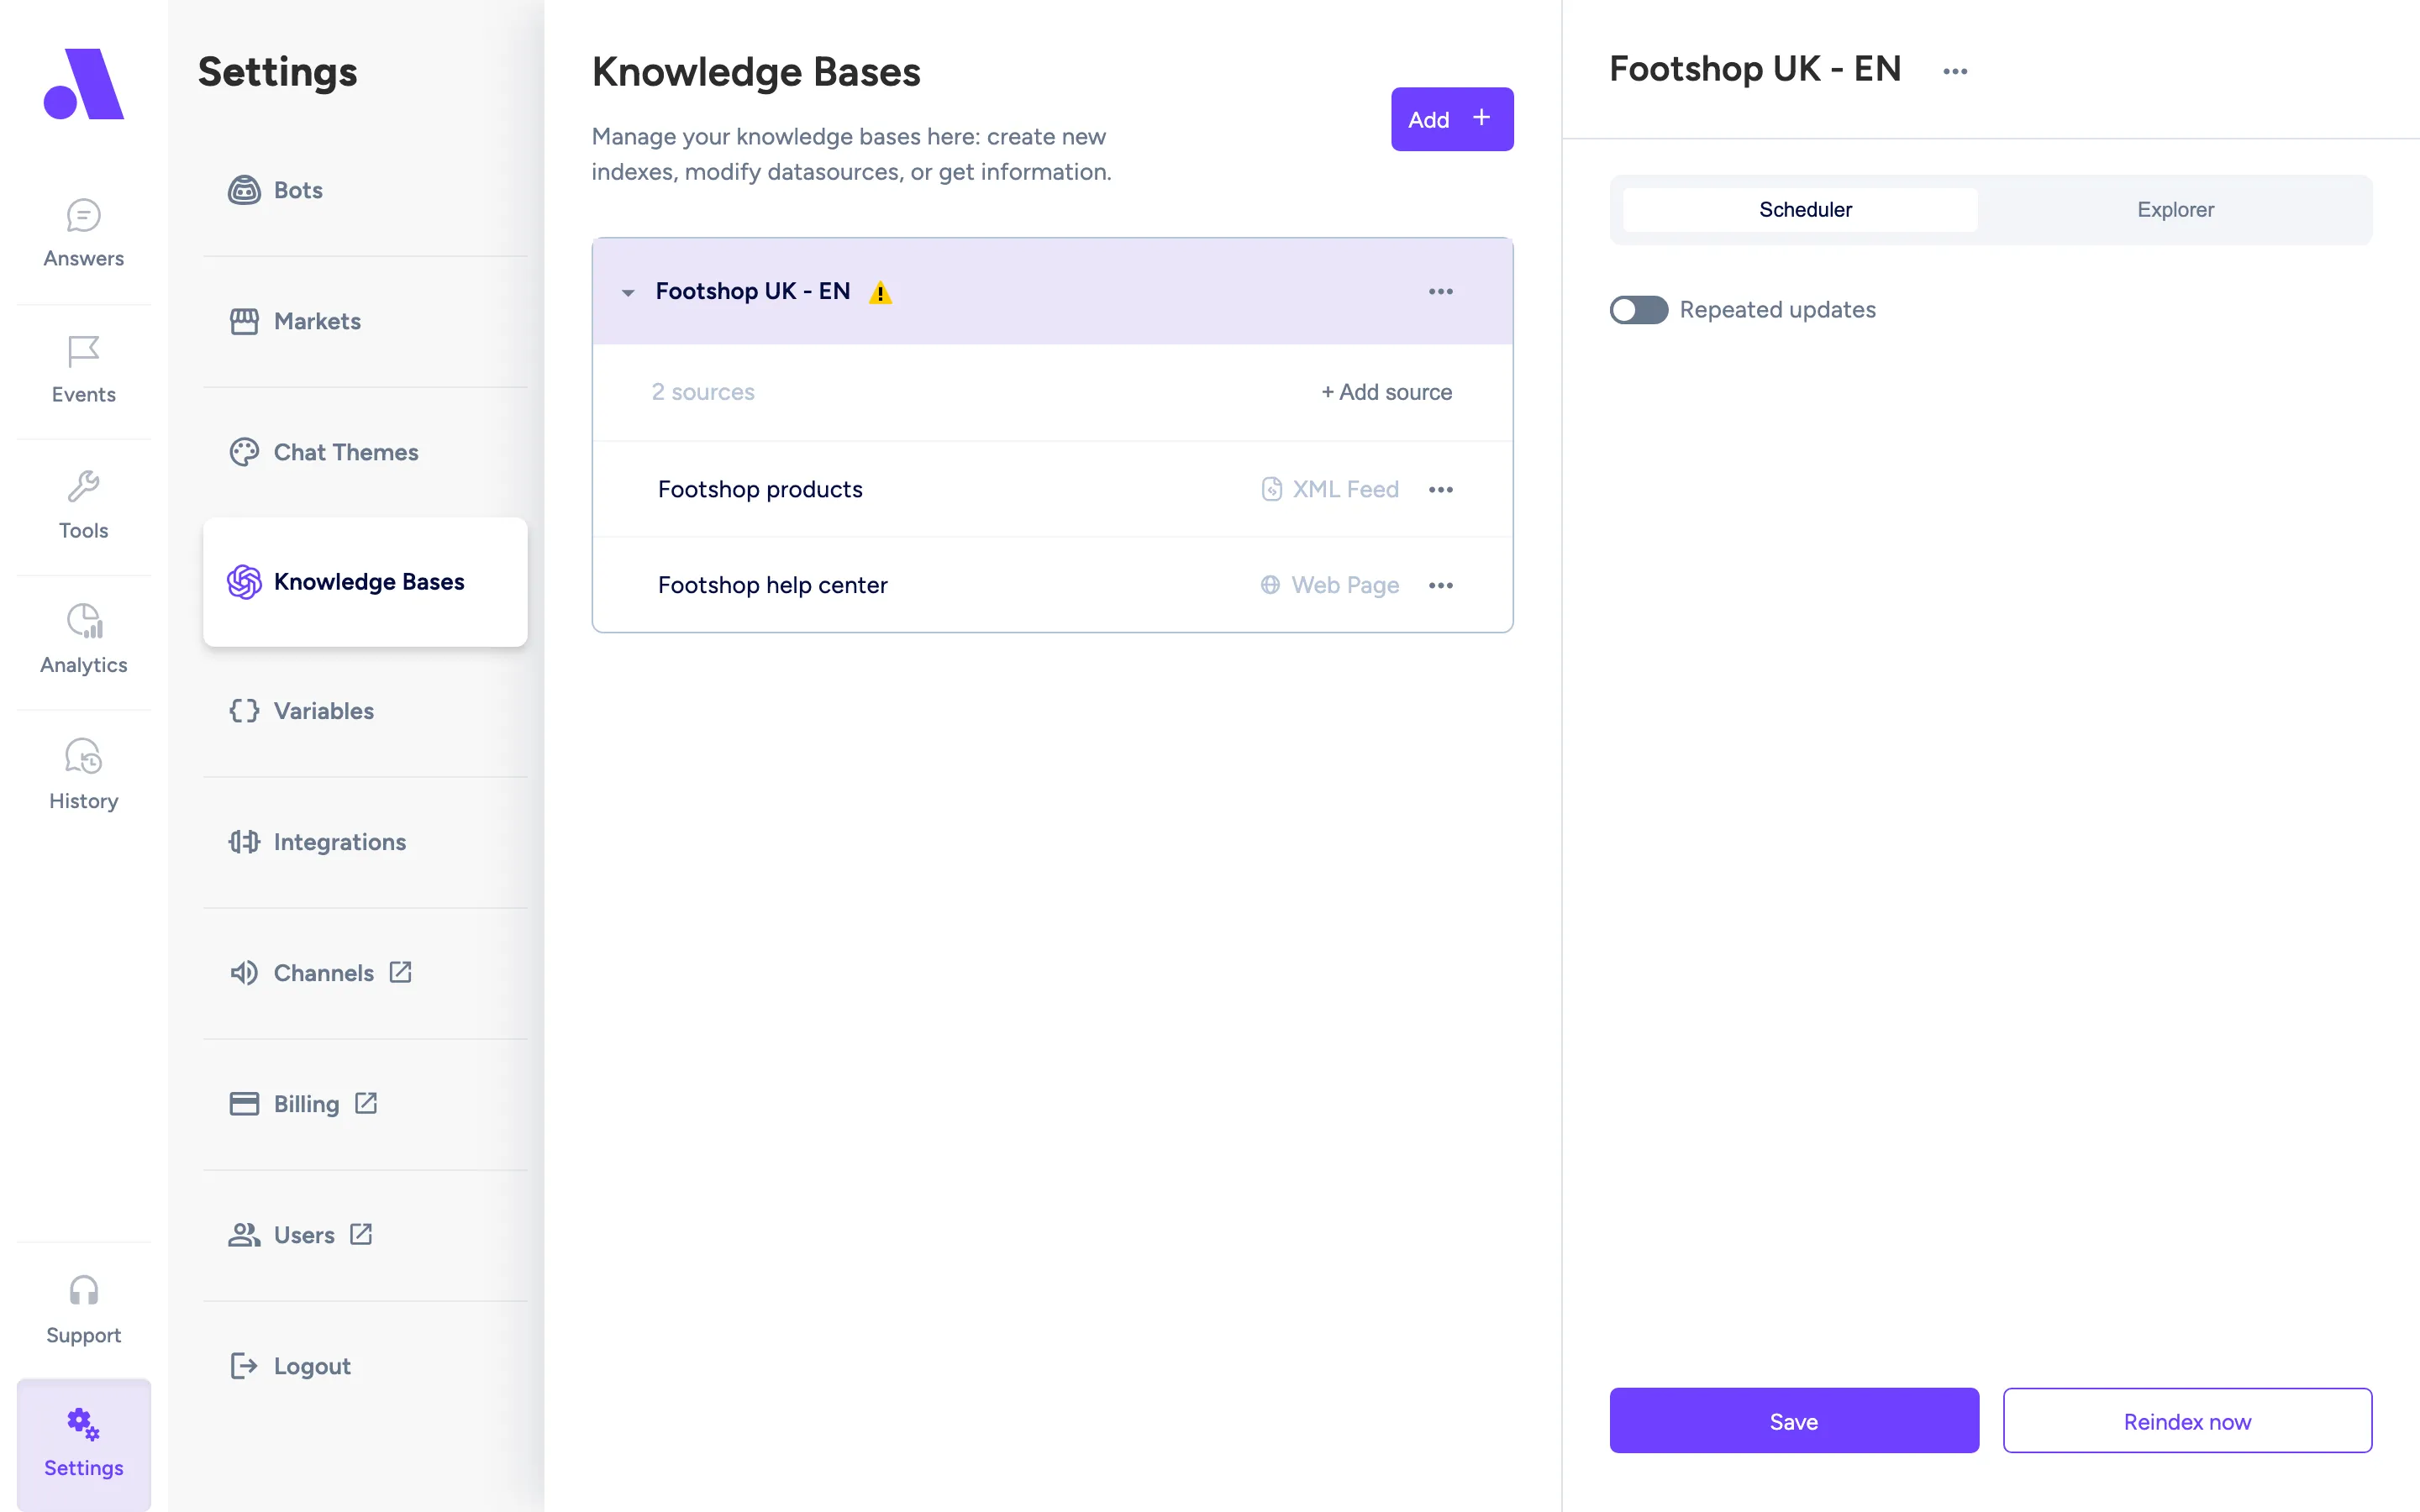
What you can do here
Section titled “What you can do here”- Create a knowledge base with its first source.
- Add, rename, reindex and delete sources.
- Schedule automatic updates.
- Add markets to a market-specific knowledge base.
- Test what the bot finds with the Explorer.
Create a knowledge base
Section titled “Create a knowledge base”- Click Add at the top of the list. The form is titled Create New Knowledge Base.
- Enter a Knowledge Base Name, for example “Sales campaign”.
- Choose a Knowledge Base Scope: Global or Market. With Market, the form asks you to pick the market the knowledge base is for.
- Click Add source.
- Enter a Source Name and pick the Data source: XML Feed, File, Web Page or Website.
- Fill in the source fields (see Fields below).
- Optionally turn on Repeated updates to schedule reindexing.
- Click Create. A progress bar at the top shows “3 steps completed” as you finish name, scope and source.
Add a source to an existing knowledge base
Section titled “Add a source to an existing knowledge base”- Open the knowledge base in the list and click + Add source.
- Choose XML Feed, File, Web Page (BETA) or Website (BETA).
- Enter a Source Name, fill in the source fields and click Create.
Reindex
Section titled “Reindex”Reindexing downloads the content again and rebuilds what the bot searches.
- To reindex one knowledge base or market, open it and click Reindex now, or use the three-dot menu and choose Reindex all sources.
- To reindex every market in a group, open the group and click Reindex all markets.
- For a single source, open it and click Reindex now, or choose Reindex from its menu.
Rename or delete
Section titled “Rename or delete”Use the three-dot menu next to a knowledge base, group or source and choose Rename or Delete. A source can only be deleted while the knowledge base has more than one source (Delete source). Deleting a knowledge base or group asks you to type its name to confirm. It removes all data for it and cannot be undone. Bots that use a deleted market knowledge base can no longer give market-specific information to customers.
Add a market to a group
Section titled “Add a market to a group”Market knowledge bases are shown as a group with a number badge. Click + Add market on the group, choose the market, then set up its source and schedule and click Create. If every bot market already has a knowledge market, the form says there are no available markets and offers an Add Market button that takes you to the bot settings.
Test with the Explorer
Section titled “Test with the Explorer”Open a knowledge base and switch from Scheduler to Explorer. Type a Query, for example “white veja sneakers”, and click Search. Each match shows its title, source, a similarity score and, when expanded, its content and stored fields. If nothing matches, the page says “No documents matched this query.”
Fields
Section titled “Fields”Knowledge base
Section titled “Knowledge base”| Field | What it does |
|---|---|
| Knowledge Base Name | Name shown in the list. Required. |
| Knowledge Base Scope | Global is one knowledge base for all bot markets. Market is tied to a specific market, so each market can have its own content. |
| Source Name | Name of a single source inside the knowledge base, for example “Sales campaign feed”. |
| Data source | XML Feed, File, Web Page or Website. |
XML Feed
Section titled “XML Feed”| Field | What it does |
|---|---|
| XML Feed URL | Address of your product feed. The info icon says: for best results the feed should follow the product feed best practices, and it must be pre-generated (feeds generated just in time are not accepted). |
If the URL is behind a firewall, the form shows the IP address to allow, with a copy button.
Item, name, ID and category tags are read from the feed on the first indexation. Until then, the tag fields are not available.
| Field | What it does |
|---|---|
| File URL | Address of a file to fetch. Click the upload button next to it to load the file. |
| File | Upload a file from your computer instead of using a URL. |
After a file is added, you can View file or Remove file.
Web Page (BETA)
Section titled “Web Page (BETA)”The form shows the callout “BETA: Experimental feature. Use at your own risk.”
| Field | What it does |
|---|---|
| Add header to the scraping request? (optional) | Adds a custom HTTP header to the request. Enter a Key (for example your-header-key) and a Value. |
| 1. Scrape from | URL of the page to read. |
| 2. Store as | TXT File: formatting by the Amio algorithm, suits most use cases and keeps all the original content. Markdown File: formatting by GPT, suits complex cases, but GPT might change the content. |
| 3. Additional formatting with GPT? | Turns on the Scraping Prompt field. |
| Scraping Prompt | Tells GPT what to pull from the page, for example “Extract the return policy.” |
| Preview scraped content | Shows the scraped result before you save. Appears once there is content to preview. |
If a page needs JavaScript to render, the form suggests a workaround: load the page in a browser, wait for it to render, save it as HTML and add that HTML file as a File source. Repeat this whenever the page changes.
Website (BETA)
Section titled “Website (BETA)”Reads a whole shop website from its sitemap, so the bot can answer from your FAQ, shipping, returns and terms pages and recommend categories. It also loads your products from their product pages, so you do not need a product feed. A product page needs schema.org Product data (JSON-LD or microdata) with a price. Out-of-stock products are not loaded. Categories are the pages that link to your products. If some are missing, set Category URL prefixes.
Sources created before this feature keep the old behaviour: content and categories only, with product pages indexed as Content.
| Field | What it does |
|---|---|
| Sitemap or website address | Your shop’s domain (for example shop.com) or the address of its sitemap.xml. Amio reads robots.txt for sitemap addresses and falls back to /sitemap.xml. Sitemap index files are followed. |
| Category URL prefixes (optional, comma separated) | URL beginnings that mark category pages, for example kolekce, /akce/. Use it when your categories are not recognised automatically. |
If the last crawl failed, the editor shows “Last crawl failed” with the reason.
How pages are sorted. Every page in the sitemap is placed in one of four groups:
| Group | What goes in it | What Amio does with it |
|---|---|---|
| Categories | Pages that list products, such as /c/shirts/. A page under a category address that links to no products becomes Content. |
Becomes a category card the bot can suggest. |
| Content | FAQ, shipping and returns, terms, blog, about us. | Indexed like a Web Page source: only the main content is kept, menus, footer and cookie bar are removed. |
| Products | Product pages with schema.org Product data and a price. | Loaded as products the bot can recommend. When your product feed covers them, the feed’s products are used instead. |
| Excluded | Addresses with a query string, pagination pages, pages disallowed in robots.txt, and promo or seasonal pages (for example Black Friday or sleva). |
Ignored. |
Review the pages once.
- Create the source. The first crawl only sorts the pages and adds nothing to the bot. Until you confirm, only category candidates are opened, to check that they list products. While it runs the panel says “The first crawl is running. Pages appear here when it finishes.” Click Refresh.
- Open the source. The panel shows the totals, for example “2750 products · 126 content · 386 categories · 38 excluded”, and the pages grouped as Categories, Content, Products and Excluded. Use Search URLs to find a page.
- Tick the pages that are in the wrong group, choose a group in Move selected to… and pick Category, Content, Product or Excluded. A moved page is marked “✎ set by you”. Click reset to let Amio sort it again. Your choices are kept for later crawls.
- Set Category URL prefixes if categories are missing.
- Click Save & index. The content and products now go into the bot.
After that you can still move pages at any time. A change applies on the next crawl, or right away with Reindex now.
Keeping it current. Amio reads the site again at most once a week, or when you click Reindex now. Pages that did not change are not processed again. New pages are picked up automatically and marked new until the next crawl. If a crawl fails, the source shows an error, and the bot keeps using the last good content.
Products and the feed. While Amio is still reading product pages, for example after Save & index, the line also shows progress, such as “1200 of ~2750 products loaded”. A big shop can take hours, because Amio reads at most one page per second. If the same knowledge base has an XML product feed, the feed’s products replace the crawled ones once the feed indexes successfully, and the line reads “2750 products (from the feed)”. If you remove the feed, or it has had no successful run for 7 days, the crawl takes the products back.
Current prices. Before the bot sends a product card for a crawled product, Amio re-reads the product page for the current price, within about 1.5 seconds. The card is dropped if the page is gone or the product is out of stock. Results are cached for 30 minutes per page. Pages disallowed in robots.txt are not re-read.
Trial limit. During the trial, a Website source loads up to 2,000 products and 50 categories. Pages over the limit show as excluded. Paying lifts the limit, and the rest of your products start loading right away.
Amio follows robots.txt, identifies itself with its own user agent and requests at most one page per second, so your shop is not slowed down.
Pages that need JavaScript to show their content, or sites that block automated access, are not read. Images of size charts are not read either.
Repeated updates
Section titled “Repeated updates”| Field | What it does |
|---|---|
| Repeated updates | Switch that turns on scheduled reindexing. |
| Frequency | Monthly, Weekly or Daily. |
| Time | Time of day for the update, shown with its UTC offset. |
| Day of week | For weekly updates, Monday to Sunday. |
| Day of month | For monthly updates, 1 to 31. |
The form warns that reindexing during peak hours is not recommended.
Status icons in the list
Section titled “Status icons in the list”| Indicator | Meaning |
|---|---|
| Queued | Indexing is waiting, with its queue position when known. |
| Processing | Step 1 is downloading data, step 2 is indexing it. Each step can take up to several hours depending on dataset size. Refresh the page for updated status. |
| Reindexing from scratch | The product list and indexed items did not match, so indexing restarts. |
| Finished | Indexing completed. A warning version appears when some products were too long or had no searchable text. |
| Error | Hover to see the error message. |
| Never indexed | The index does not exist yet. Turn on Repeated updates to create it on schedule, or click Reindex now to create it now. |
| Last update, next update | Hover to see the last update time and duration, and the next scheduled update. |